
Safety Warning
DIY auto repair can cause serious injury, fire, or vehicle damage. These guides are for informational purposes only. Always follow OEM torque specs, wear PPE, and consult a certified mechanic if you are unsure. You are solely responsible for your safety.
2009 Kia Optima L4-2.4LFACTORY OEM SERVICE PROCEDURE
Engine, A/T Controls - Poor Shift Quality/Shift Issues
GROUP
Engine
NUMBER
1067 [rev 2] (April 2011)
MODEL
2009/2010MY
Optima (MG)
DATE
January 2011
SUBJECT:
ECM UPGRADE FOR IMPROVED SHIFT QUALITY -
EQUIPPED WITH 24L ENGINE AND A/T
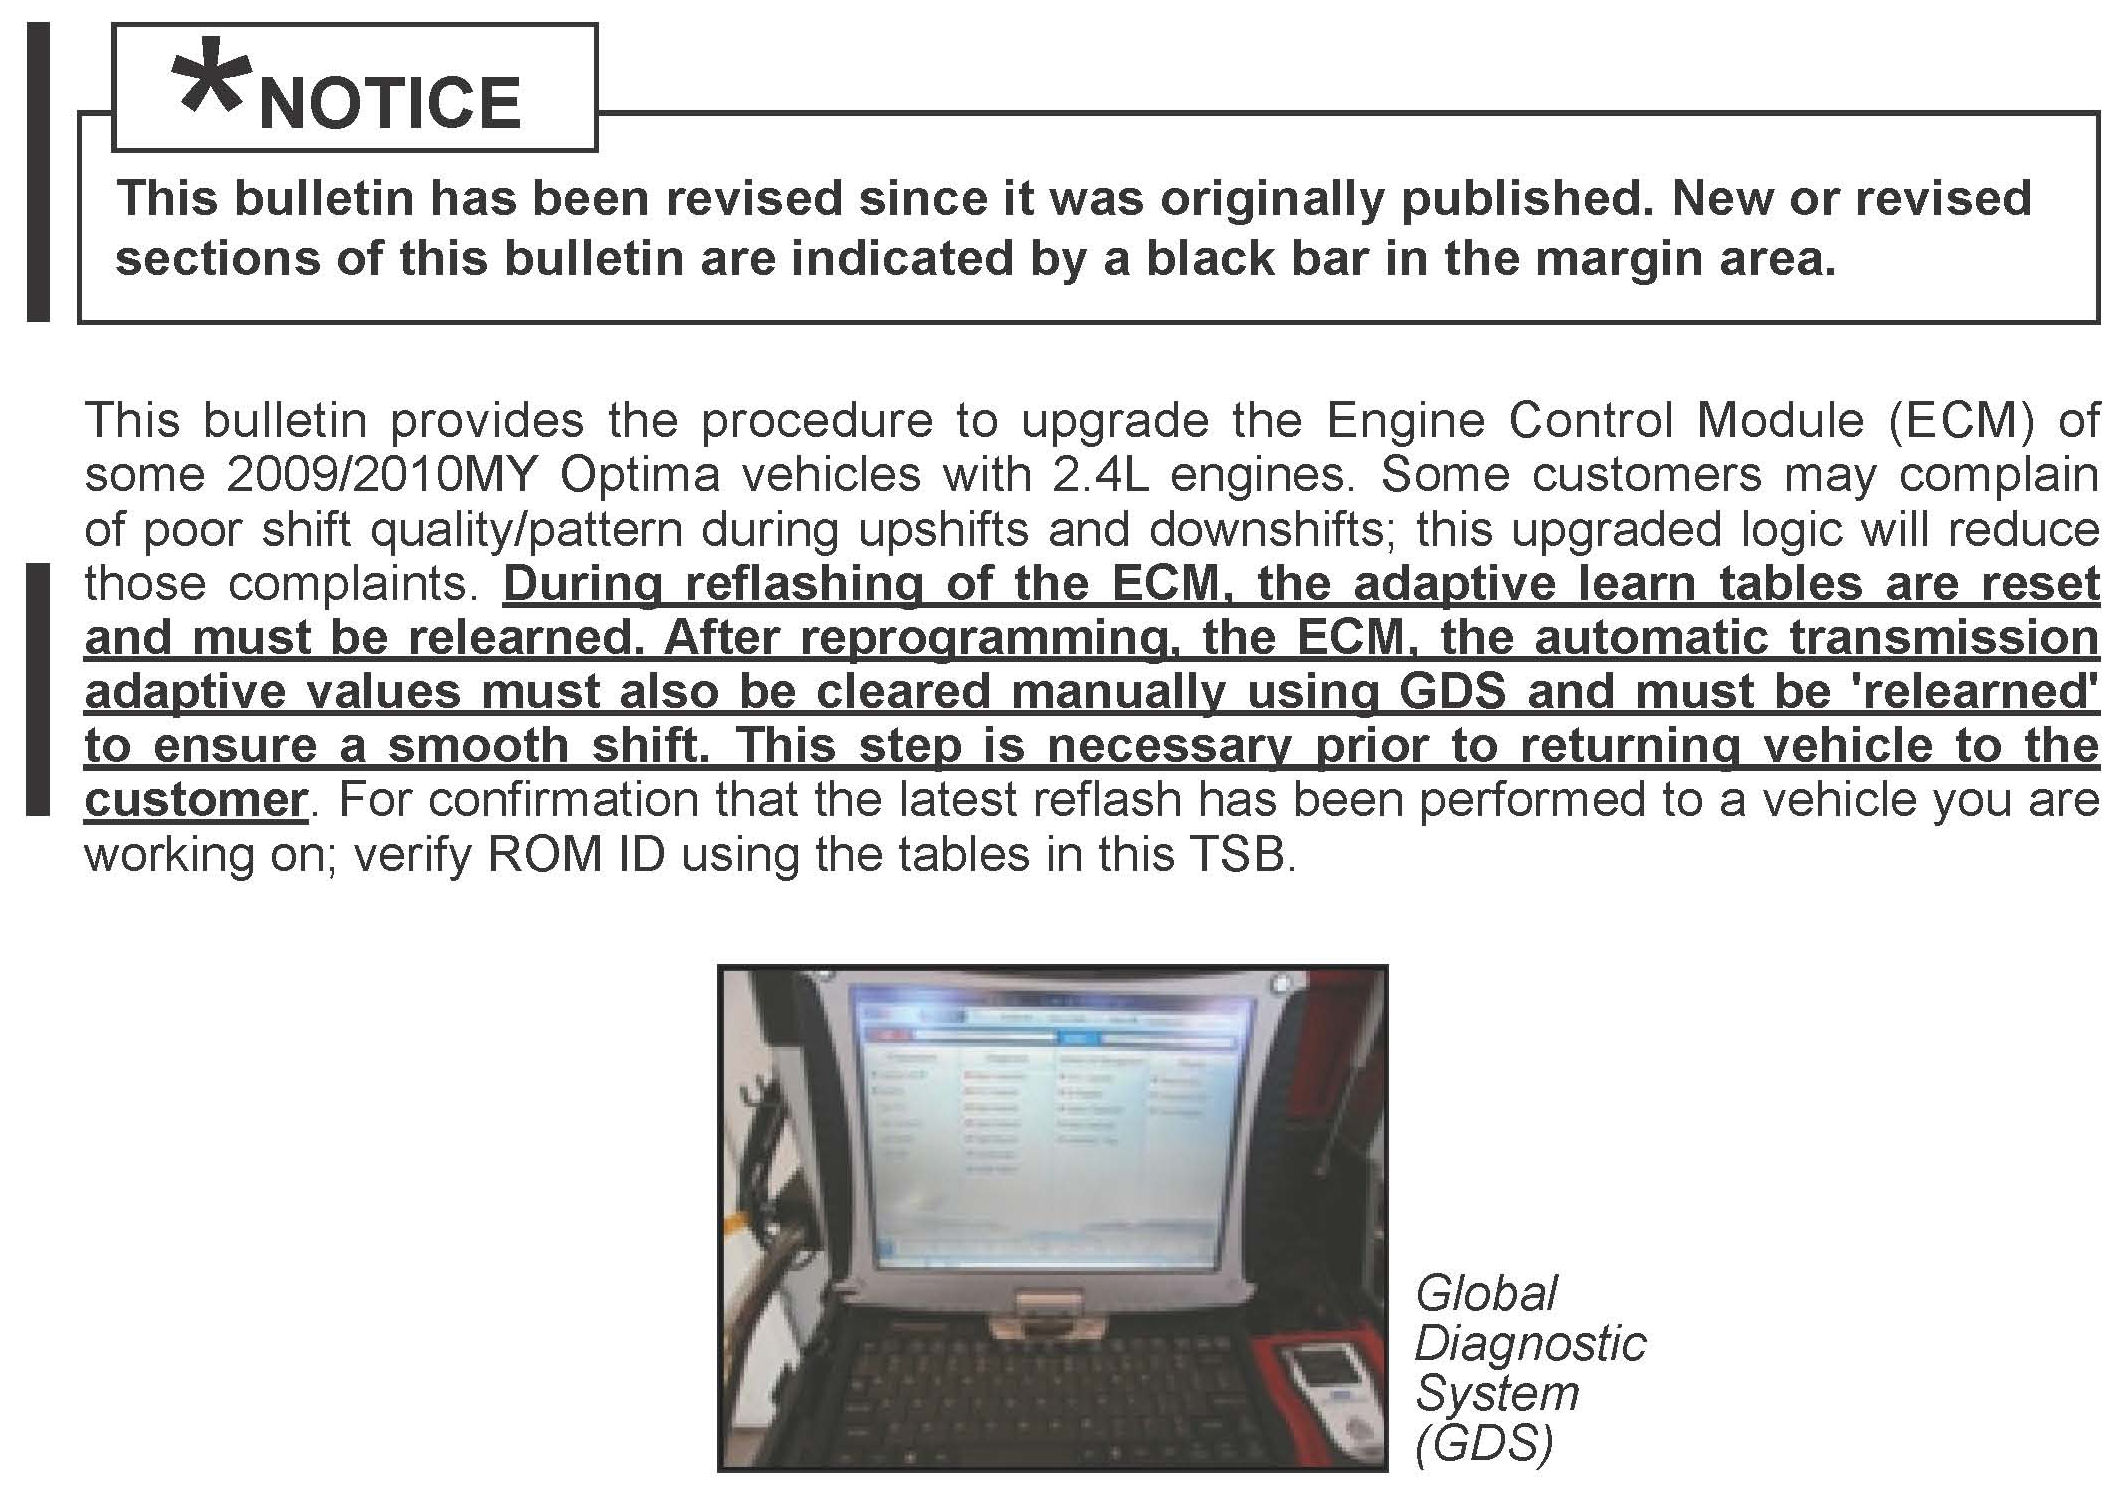
To correct this condition the ECM should be reprogrammed using the GDS download as described in this bulletin.

ECM ROM Table Information:
To verify the vehicle is affected be sure to check the Calibration Identification of the vehicles ECMs
ROM ID and reference the Information Table as necessary
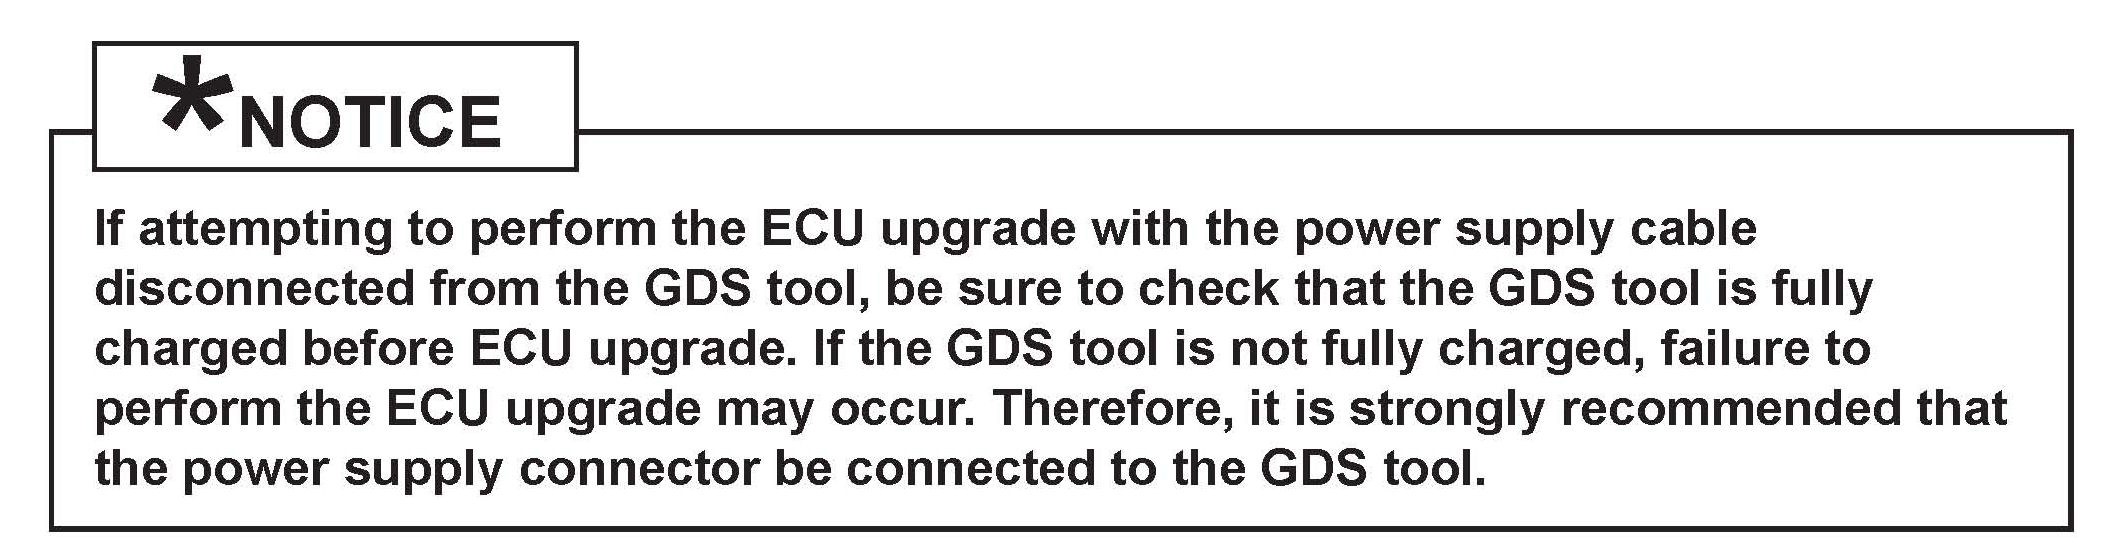
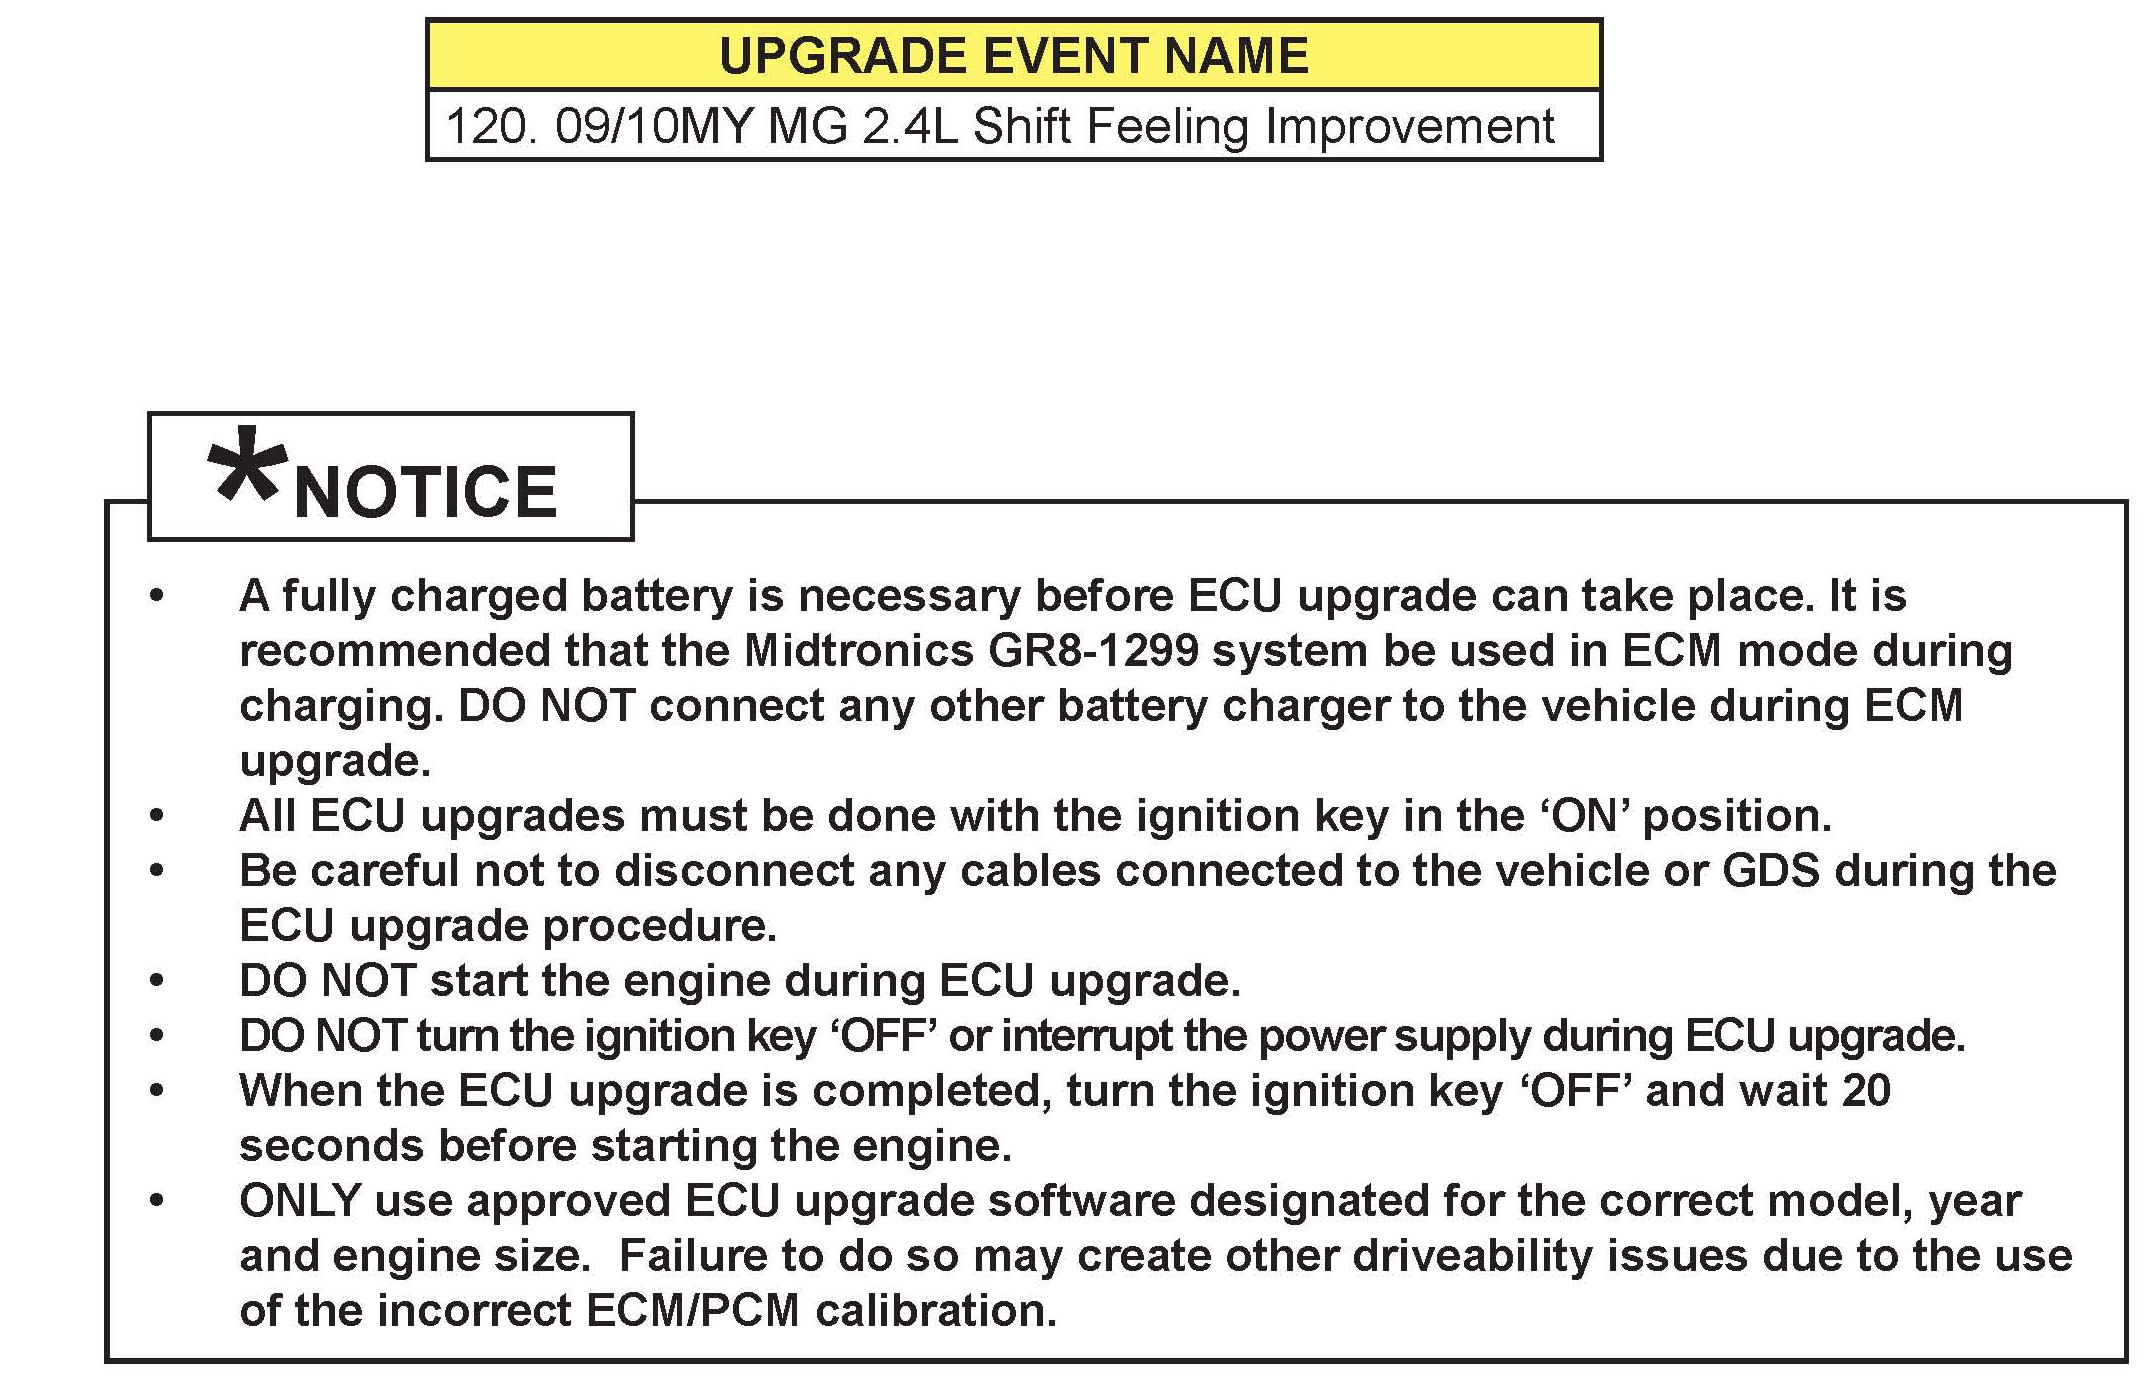
1. Connect the power supply cable to the GDS tool

2. Connect the USB cable between the VCI and the GDS tool.
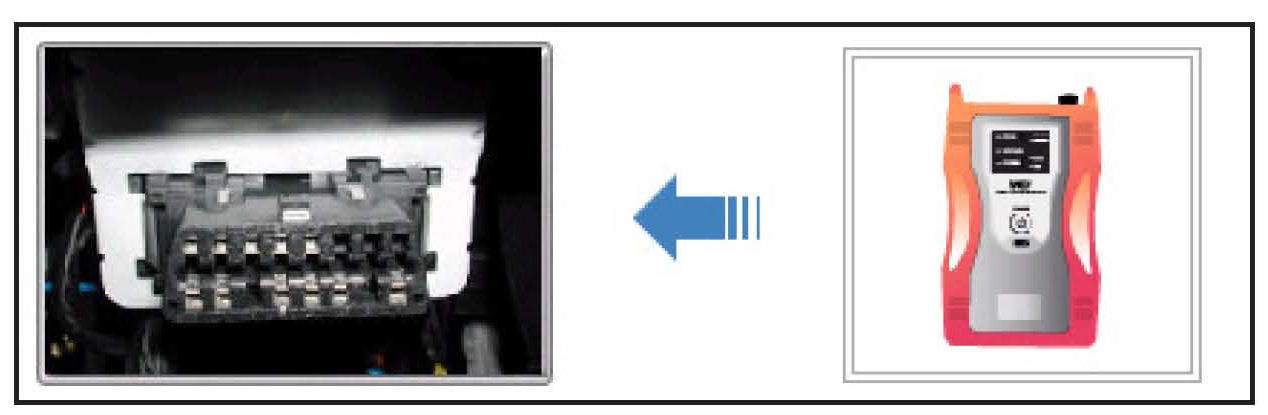
3. Connect the Main 16~pin DLC cable (GHDM - 241000) to the VCI.
4. Connect the Main 16-pin DLC cable (GHDM - 241000) to the OBD-II connector located under the driver's side of the instrument panel.
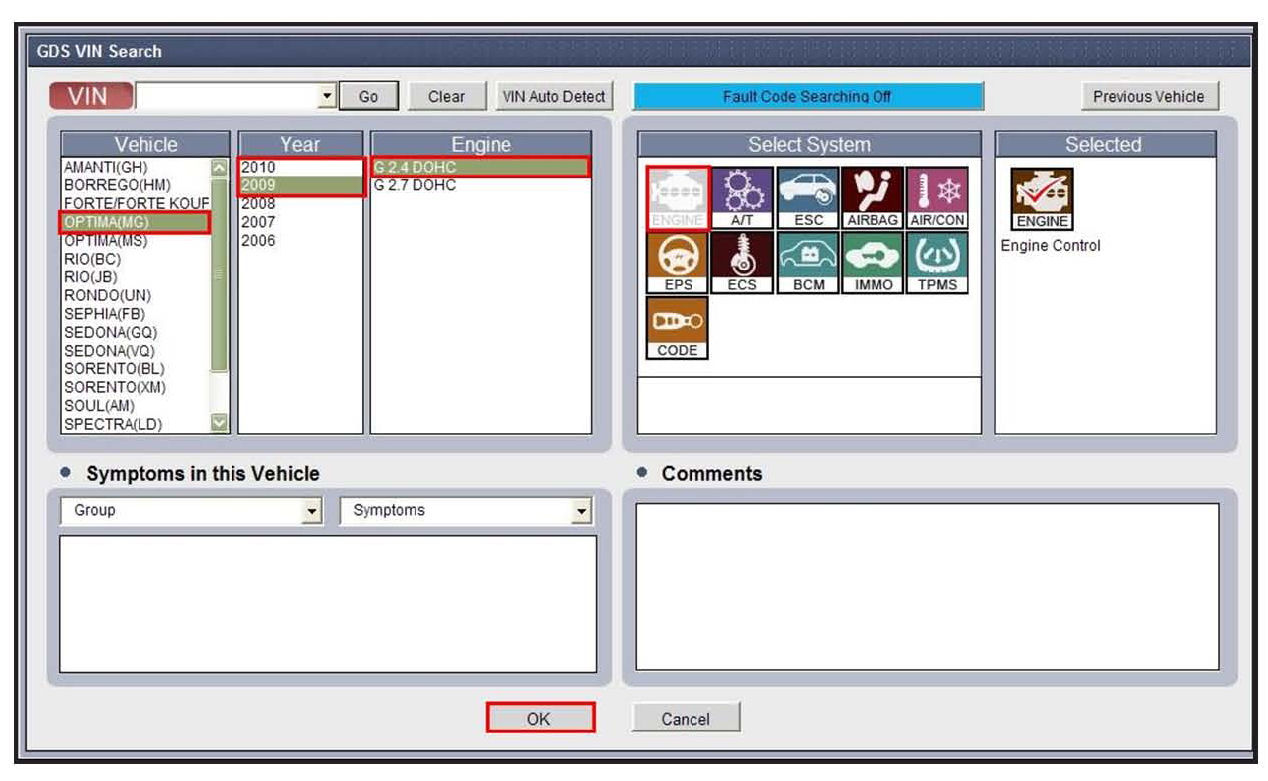
5, With the ignition key ON turn ON the VCI and GDS tool. Access the GDS vehicle identification number (VIN) screen and configure the vehicle using the VIN AUTO DETECT Function.
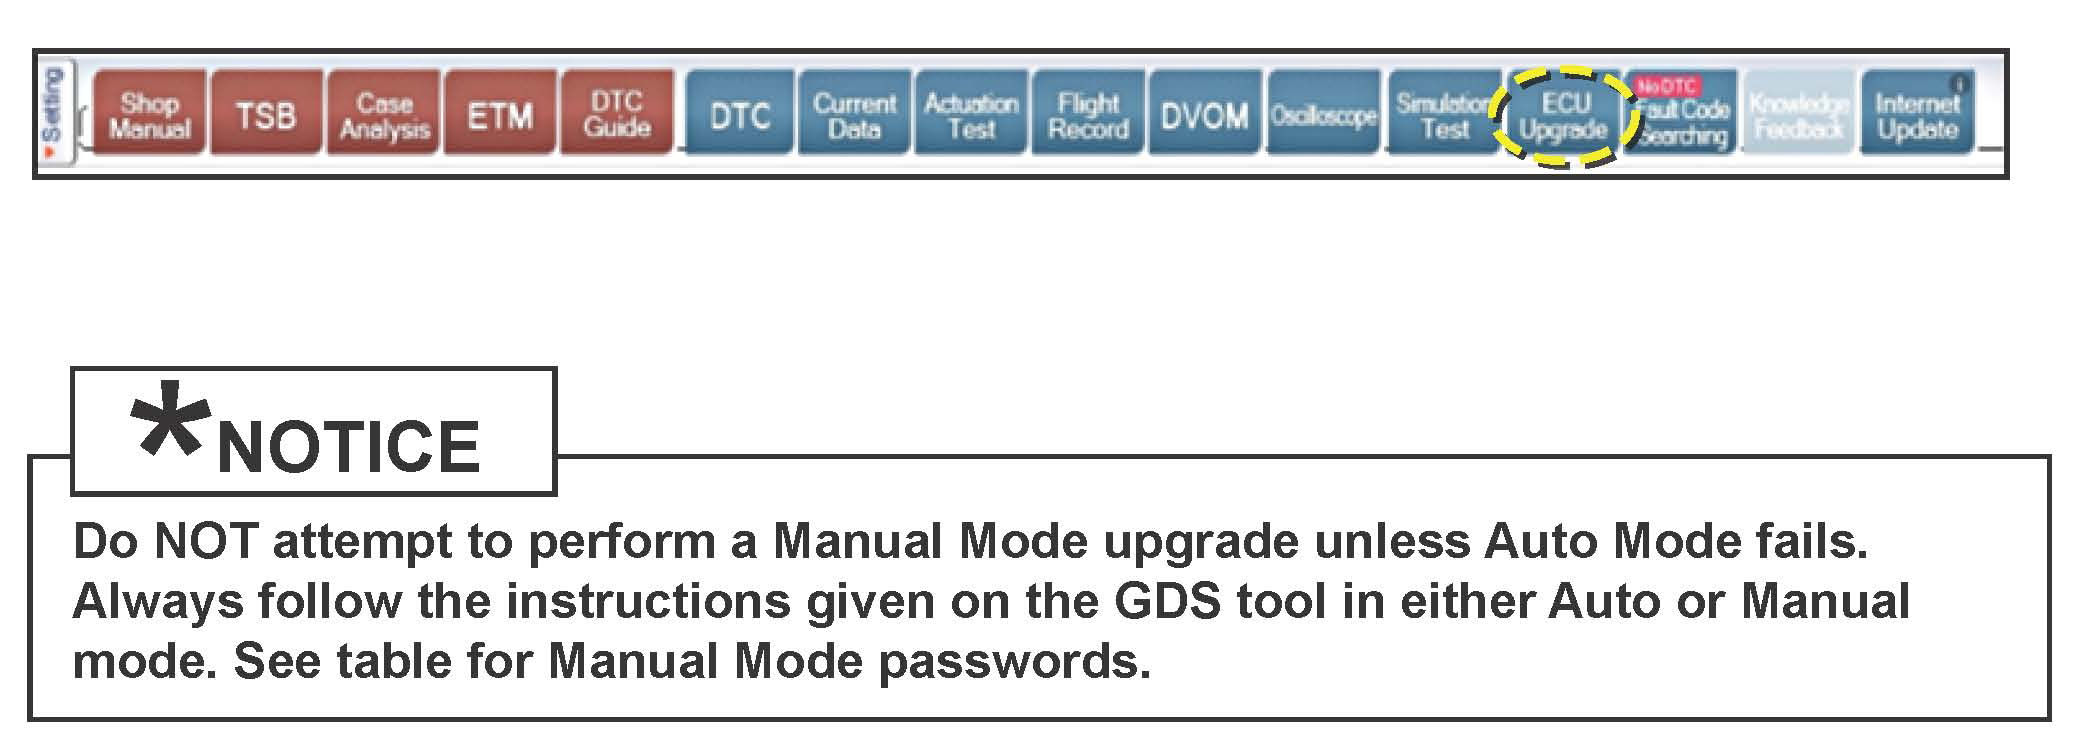
6. Once back at the GDS Main Screen select ECM upgrade from the bottom righthand corner. Next select Auto Mode Engine Perform the ECM upgrade in accordance with normal GDS too ECM upgrade procedures.

MANUAL MODE ECM UPGRADE PASSWORDS:
^ Do NOT perform Manual Mode ECM upgrade unless Auto Mode fails
^ Do NOT Force the Calibration into the incorrect P/N PCM. This is subject to warranty chargeback
7. When the GDS too reports that the ECU upgrade has been successfully completed click OK, turn OFF the ignition key and wait at east 10 seconds before attempting to start the engine
8. Check for Diagnostic Trouble Codes using the GDS and erase any DTCs stored due to CAN Line communication during reprogramming.
*Perform the Automatic Transmission Adaptive Value Reset Procedure as follows:
Use the GDS Procedure to reset the automatic transmission adaptive values found in the automatic transmission section menu. Follow the steps shown in RESETTING AUTO T/A VALUES menu sections. This step is necessary to ensure a smooth shift.
GDS Procedure:
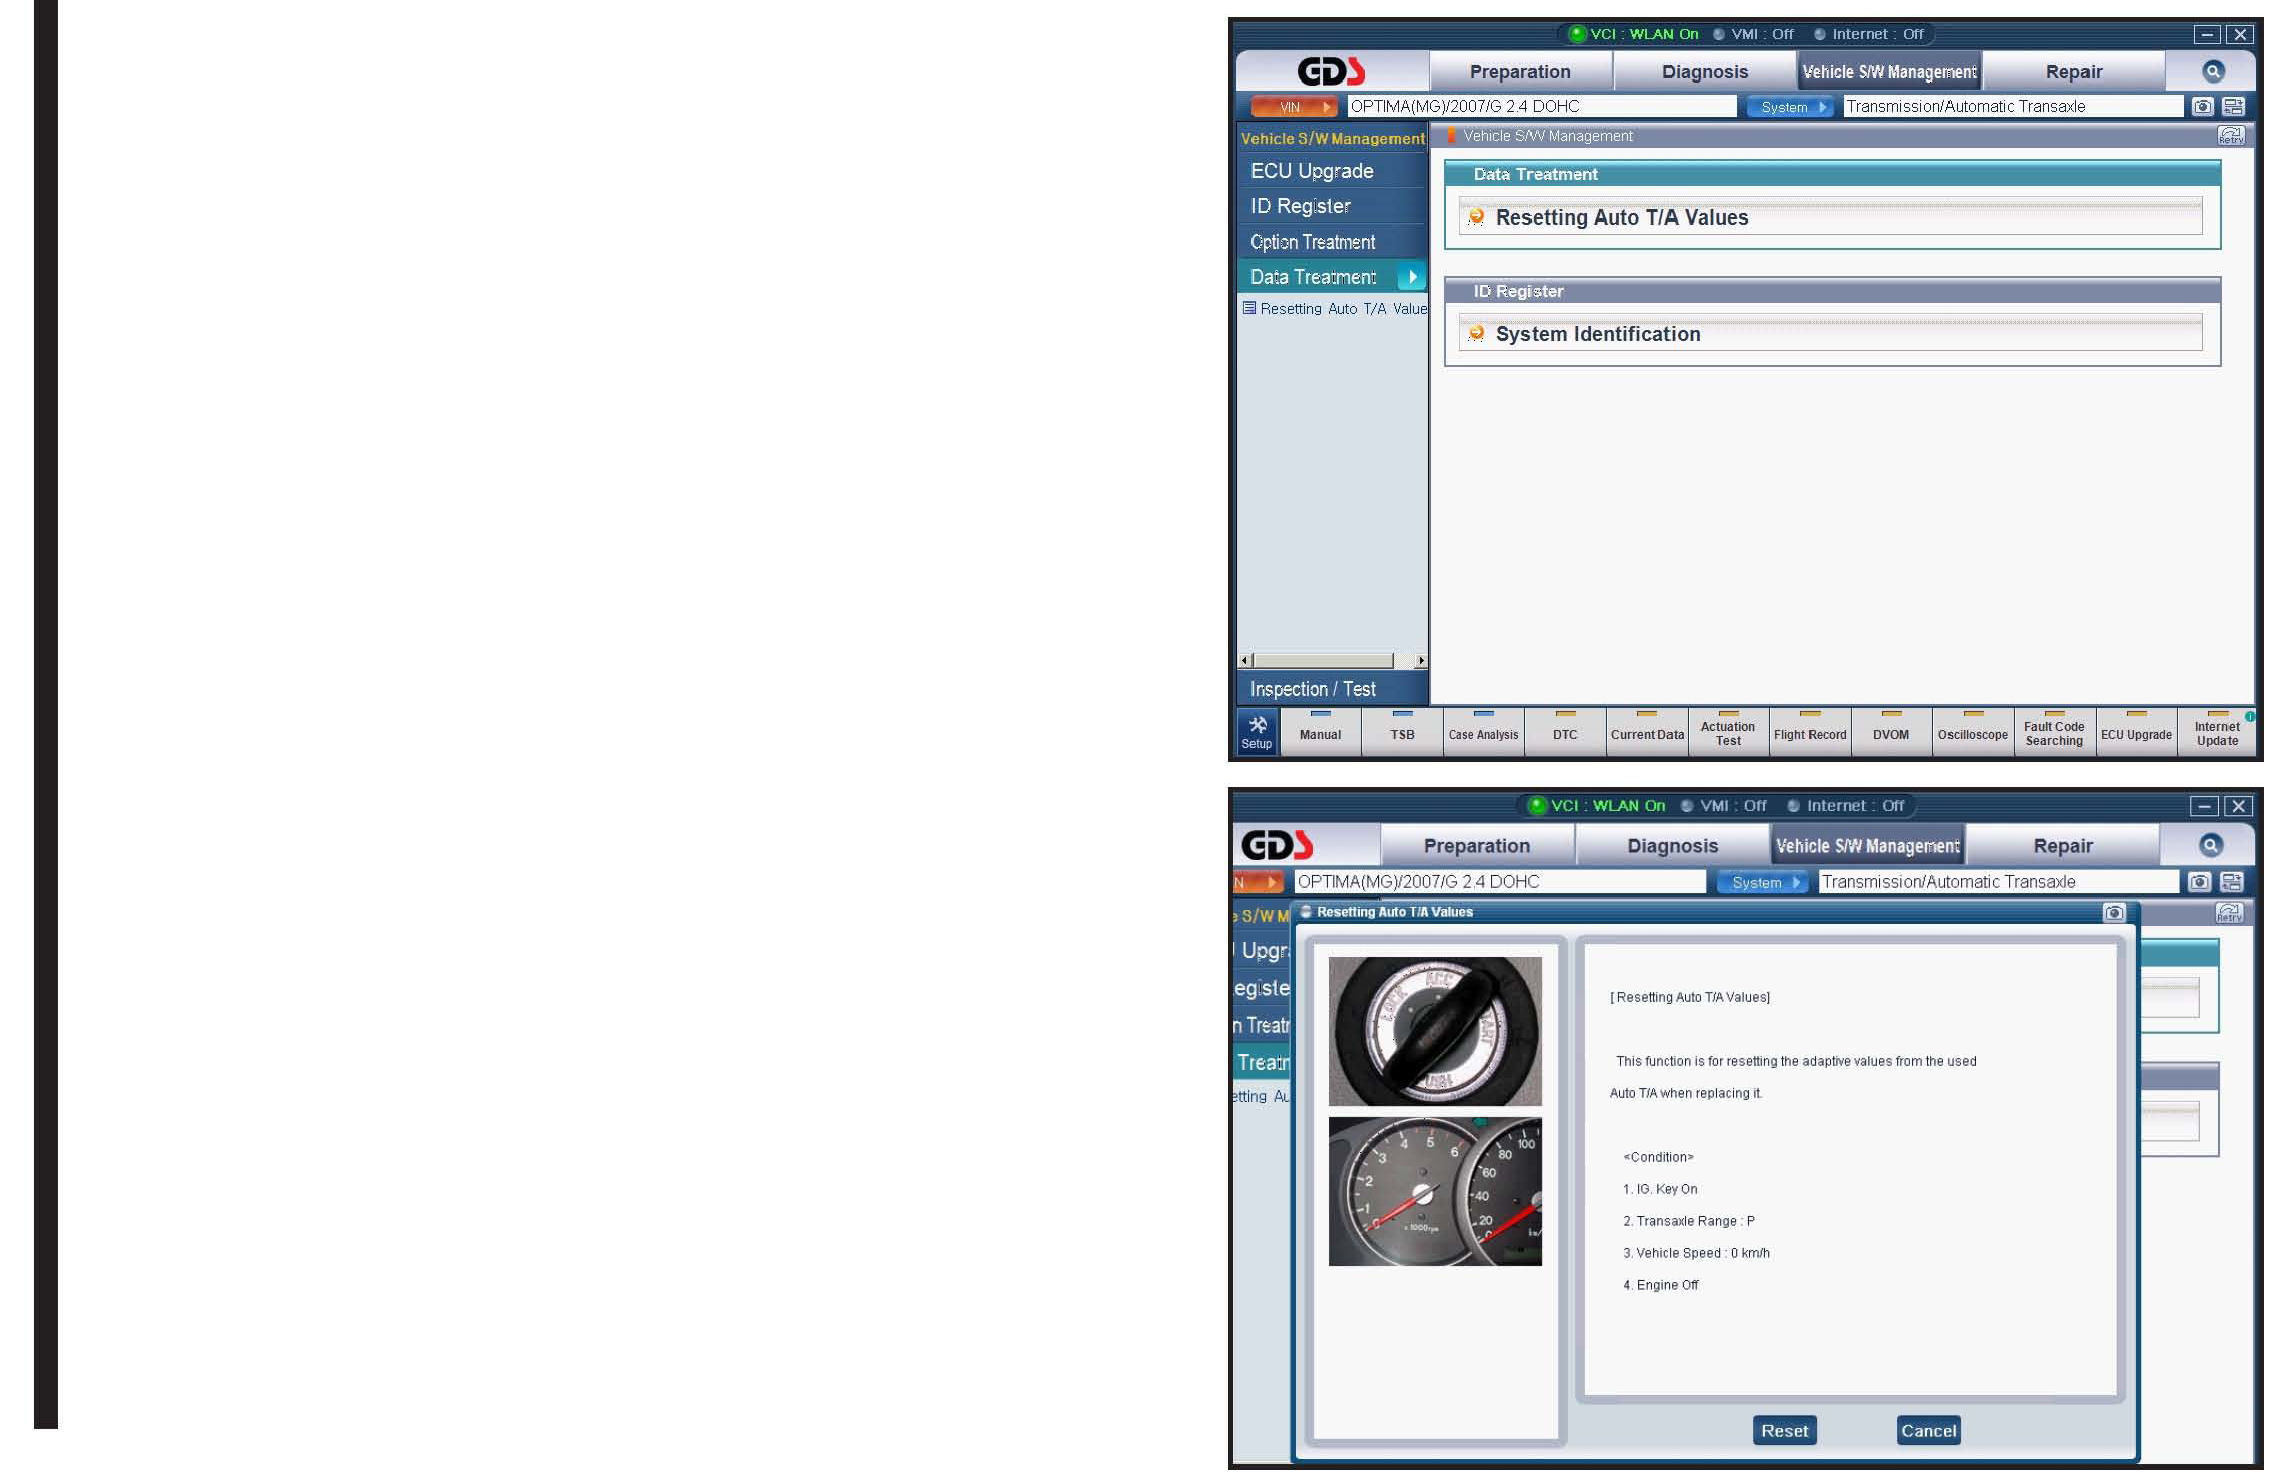
1. Select Automatic Transmission system.
2. Select Vehicle S/W Management tab as shown.
3. Select Data Treatment.
4. Select Resetting Auto T/A Values.
5, Follow the prompts on the screen.
Driving Relearn
Dynamic Automatic Transmission Adaptive Learning Procedure:
1. Attach GDS and monitor ATF temperature and TPS percent.
2. Bring ATF temp. to just over 120 F and drive from a stop shifting from 1st to 3rd gears (Five speeds: 1st to 4th gears) at 30% TPS (Approx. 3000 RPM shift). Repeat 3-5 times until any shock or flare is eliminated.
Static Shift Relearn
1. Stop the vehicle and shift into N for three seconds. Shift from N to D for two seconds. Repeat 3-5 times until there is no N to D shock.
2. Stop the vehicle and shift into N for three seconds. Shift from N to R for two seconds. Repeat 3-5 times until there is no N to R shock.
AFFECTED PRODUCTION RANGE:
2009/10MY Optima MG with 24L engine

WARRANTY CLAIM INFORMATION:
Engine
NUMBER
1067 [rev 2] (April 2011)
MODEL
2009/2010MY
Optima (MG)
DATE
January 2011
SUBJECT:
ECM UPGRADE FOR IMPROVED SHIFT QUALITY -
EQUIPPED WITH 24L ENGINE AND A/T
To correct this condition the ECM should be reprogrammed using the GDS download as described in this bulletin.
ECM ROM Table Information:
To verify the vehicle is affected be sure to check the Calibration Identification of the vehicles ECMs
ROM ID and reference the Information Table as necessary
1. Connect the power supply cable to the GDS tool
2. Connect the USB cable between the VCI and the GDS tool.
3. Connect the Main 16~pin DLC cable (GHDM - 241000) to the VCI.
4. Connect the Main 16-pin DLC cable (GHDM - 241000) to the OBD-II connector located under the driver's side of the instrument panel.
5, With the ignition key ON turn ON the VCI and GDS tool. Access the GDS vehicle identification number (VIN) screen and configure the vehicle using the VIN AUTO DETECT Function.
6. Once back at the GDS Main Screen select ECM upgrade from the bottom righthand corner. Next select Auto Mode Engine Perform the ECM upgrade in accordance with normal GDS too ECM upgrade procedures.
MANUAL MODE ECM UPGRADE PASSWORDS:
^ Do NOT perform Manual Mode ECM upgrade unless Auto Mode fails
^ Do NOT Force the Calibration into the incorrect P/N PCM. This is subject to warranty chargeback
7. When the GDS too reports that the ECU upgrade has been successfully completed click OK, turn OFF the ignition key and wait at east 10 seconds before attempting to start the engine
8. Check for Diagnostic Trouble Codes using the GDS and erase any DTCs stored due to CAN Line communication during reprogramming.
*Perform the Automatic Transmission Adaptive Value Reset Procedure as follows:
Use the GDS Procedure to reset the automatic transmission adaptive values found in the automatic transmission section menu. Follow the steps shown in RESETTING AUTO T/A VALUES menu sections. This step is necessary to ensure a smooth shift.
GDS Procedure:
1. Select Automatic Transmission system.
2. Select Vehicle S/W Management tab as shown.
3. Select Data Treatment.
4. Select Resetting Auto T/A Values.
5, Follow the prompts on the screen.
Driving Relearn
Dynamic Automatic Transmission Adaptive Learning Procedure:
1. Attach GDS and monitor ATF temperature and TPS percent.
2. Bring ATF temp. to just over 120 F and drive from a stop shifting from 1st to 3rd gears (Five speeds: 1st to 4th gears) at 30% TPS (Approx. 3000 RPM shift). Repeat 3-5 times until any shock or flare is eliminated.
Static Shift Relearn
1. Stop the vehicle and shift into N for three seconds. Shift from N to D for two seconds. Repeat 3-5 times until there is no N to D shock.
2. Stop the vehicle and shift into N for three seconds. Shift from N to R for two seconds. Repeat 3-5 times until there is no N to R shock.
AFFECTED PRODUCTION RANGE:
2009/10MY Optima MG with 24L engine
WARRANTY CLAIM INFORMATION:
Factory Service Tools
Use the Manual With the Right Hardware
Pair factory procedures with proven DIY tools so the instructions are easier to execute.
Disclosure: Verified tool recommendations may earn an affiliate commission at no cost to you.
When to See a Mechanic
Stop DIY work and contact a certified mechanic immediately if any of the following apply:
- • You smell fuel, burning insulation, or see smoke.
- • Brakes feel soft, pull hard to one side, or make grinding noises.
- • The engine overheats, stalls repeatedly, or misfires under load.
- • You are missing required tools, torque specs, or safe lifting equipment.
- • You are not confident in the next step or safety outcome.
Rather have a pro handle this?
A certified mobile mechanic comes to your home or office. They bring the tools, you stay comfortable. No tow truck, no waiting room, no surprises.
Comes to youSame-day available12-month warranty
Get a Free QuoteNo obligation. See pricing before you book.