
Safety Warning
DIY auto repair can cause serious injury, fire, or vehicle damage. These guides are for informational purposes only. Always follow OEM torque specs, wear PPE, and consult a certified mechanic if you are unsure. You are solely responsible for your safety.
2012 Ford Edge AWD V6-3.7LFACTORY OEM SERVICE PROCEDURE
Refrigerant Oil: Service and Repair
Refrigerant Oil Adding
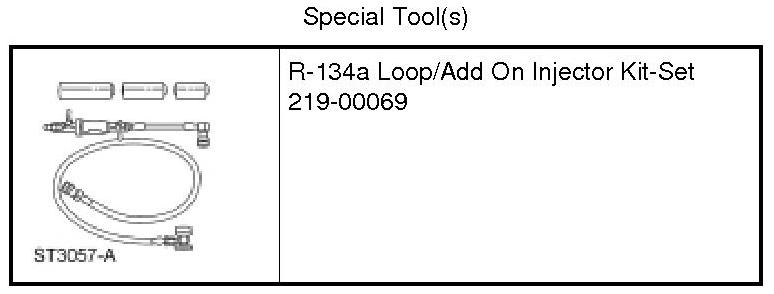
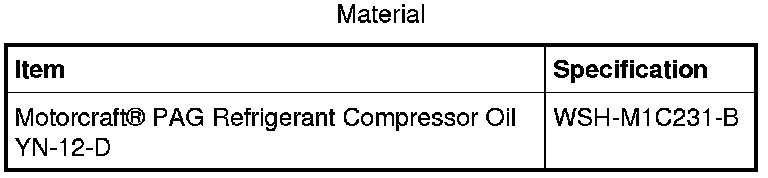
Refrigerant Oil Adding
NOTICE: During normal Air Conditioning (A/C) operation, oil is circulated through the system with the refrigerant, and a small amount is retained in each component. If certain components of the system are removed, some of the refrigerant oil will go with the component. To maintain the original total oil charge, it is necessary to compensate for the oil lost by adding oil to the system with the new part.
1. Refer to the chart below for refrigerant oil adding amounts and methods of installation.
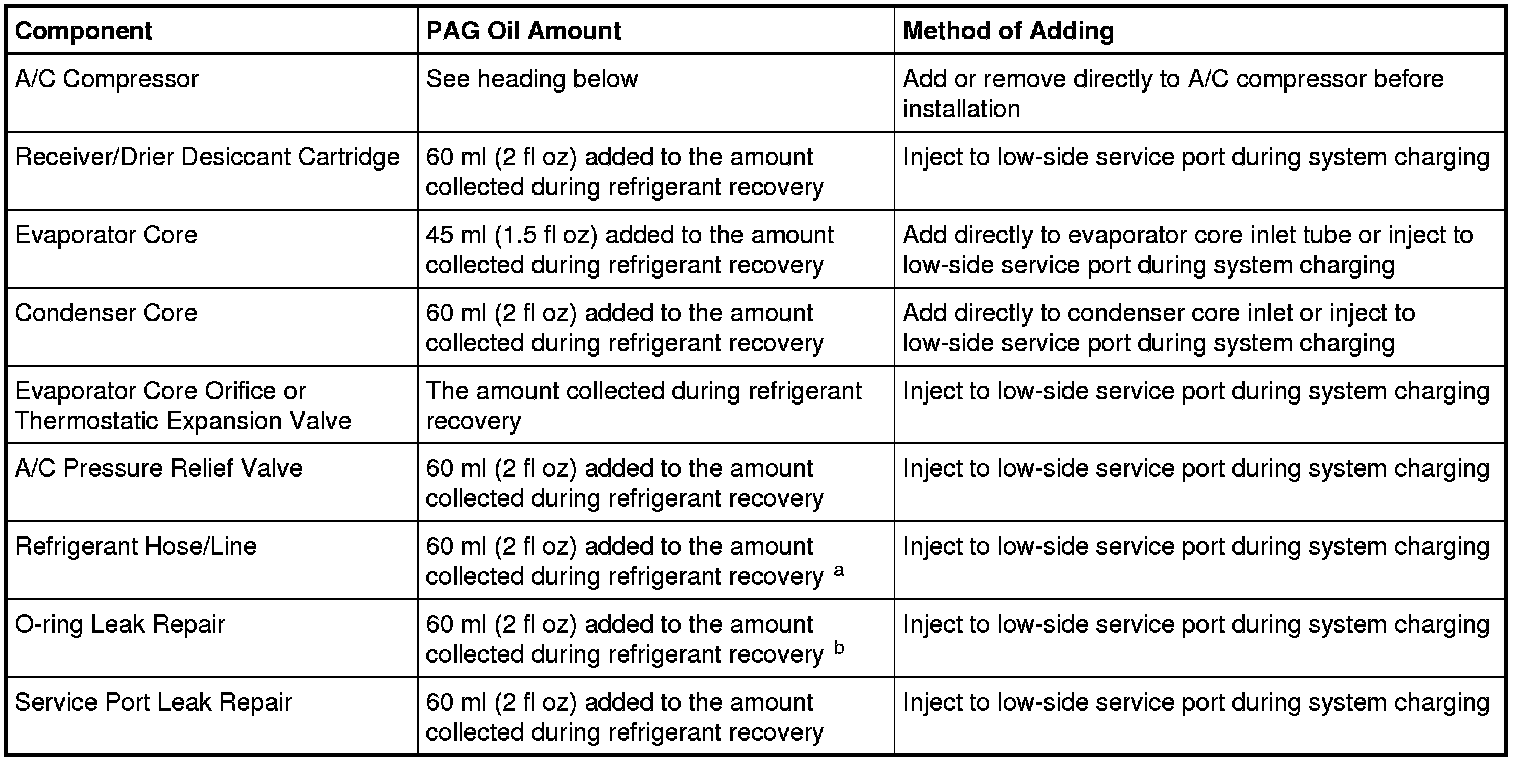
a If an excessive amount of refrigerant oil is lost due to a hose rupture/separation or other damage, the total system refrigerant oil capacity must be added.
b The amount specified may be used for one or multiple O-ring leak repairs. Do not multiply the refrigerant oil amount by the number of O-ring leaks being repaired.
Refrigerant Oil Adding for New A/C Compressor Installation
Service A/C compressors shipped without clutch and pulley
1. Rotate the A/C compressor shaft 6 to 8 revolutions while collecting oil in a clean measuring device.
- If the amount of oil drained from the old A/C compressor is between 85-142 ml (3-5 oz), pour the same amount plus 30 ml (1 oz) of clean PAG Refrigerant Compressor Oil (R-134a Systems) (YN-12-D) WSH M1C231-B or equivalent into the new A/C compressor.
- If the amount of oil that was removed from the old A/C compressor is greater than 142 ml (5 oz), pour the same amount drained of clean PAG Refrigerant Compressor Oil (R-134a Systems) or equivalent into the new A/C compressor.
- If the amount of oil that was removed from the old A/C compressor is less than 85 ml (3 oz), pour 85 ml (3 oz) of clean PAG Refrigerant Compressor Oil (R-134a Systems) or equivalent into the new A/C compressor.
Service A/C compressors shipped with clutch and pulley
2. Rotate the old A/C compressor shaft 6 to 8 revolutions while collecting oil in a clean measuring device.
- If the amount of oil drained from the old A/C compressor is less than 89 ml (3 oz), remove 118 ml (4 oz) from the new A/C compressor.
- If the amount of oil drained from the old A/C compressor is 89 ml (3 oz), remove 89 ml (3 oz) from the new A/C compressor.
- If the amount of oil drained from the old A/C compressor is 118 ml (4 oz), remove 59 ml (2 oz) from the new A/C compressor.
- If the amount of oil drained from the old A/C compressor is 148 ml (5 oz), remove 29 ml (1 oz) from the new A/C compressor.
- If the amount of oil drained from the old A/C compressor is greater than 148 ml (5 oz), remove 0 ml (0 oz) from the new A/C compressor.
Oil Injection Using a Dye/Lubricant Injector
NOTE: If fluorescent leak detection dye is also to be added during A/C charging, the dye may be added to the dye/lubricant injector, from the R-134a Loop/Add On Injector Kit-Set, along with the PAG oil.
1. Evacuate the refrigerant system. For additional information, refer to Air Conditioning (A/C) System Recovery, Evacuation and Charging Air Conditioning (A/C) System Recovery, Evacuation and Charging.
2. Assemble the dye/lubricant injector and the correct adapters from the R-134a Loop/Add On Injector Kit-Set to match the amount of PAG oil to be injected.
3. Verify that all the valves on the dye/lubricant injector are closed.
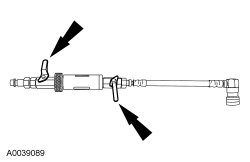
4. Fill the dye/lubricant injector with the correct amount of new PAG oil.
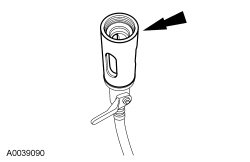
5. Install the dye/lubricant injector between the low-side service gauge port valve and the R-134a Refrigerant Management Machine or R-134a Manifold Gauge Set.
6. Open all valves and charge the refrigerant system. For additional information, refer to Air Conditioning (A/C) System Recovery, Evacuation and Charging Air Conditioning (A/C) System Recovery, Evacuation and Charging.
Factory Service Tools
Use the Manual With the Right Hardware
Pair factory procedures with proven DIY tools so the instructions are easier to execute.
Disclosure: Verified tool recommendations may earn an affiliate commission at no cost to you.
When to See a Mechanic
Stop DIY work and contact a certified mechanic immediately if any of the following apply:
- • You smell fuel, burning insulation, or see smoke.
- • Brakes feel soft, pull hard to one side, or make grinding noises.
- • The engine overheats, stalls repeatedly, or misfires under load.
- • You are missing required tools, torque specs, or safe lifting equipment.
- • You are not confident in the next step or safety outcome.