
Safety Warning
DIY auto repair can cause serious injury, fire, or vehicle damage. These guides are for informational purposes only. Always follow OEM torque specs, wear PPE, and consult a certified mechanic if you are unsure. You are solely responsible for your safety.
2007 Chevrolet Uplander V6-3.9LFACTORY OEM SERVICE PROCEDURE
Spark Plug: Service and Repair
Spark Plug Replacement
Removal Procedure
Notice: Observe the following service precautions:
* Allow the engine to cool before removing the spark plugs. Attempting to remove spark plugs from a hot engine can cause the spark plugs to seize. This can damage the cylinder head threads.
* Clean the spark plug recess area before removing the spark plug. Failure to do so can result in engine damage due to dirt or foreign material entering the cylinder head, or in contamination of the cylinder head threads. Contaminated threads may prevent proper seating of the new spark plug.
* Use only the spark plugs specified for use in the vehicle. Do not install spark plugs that are either hotter or colder than those specified for the vehicle. Installing spark plugs of another type can severely damage the engine.
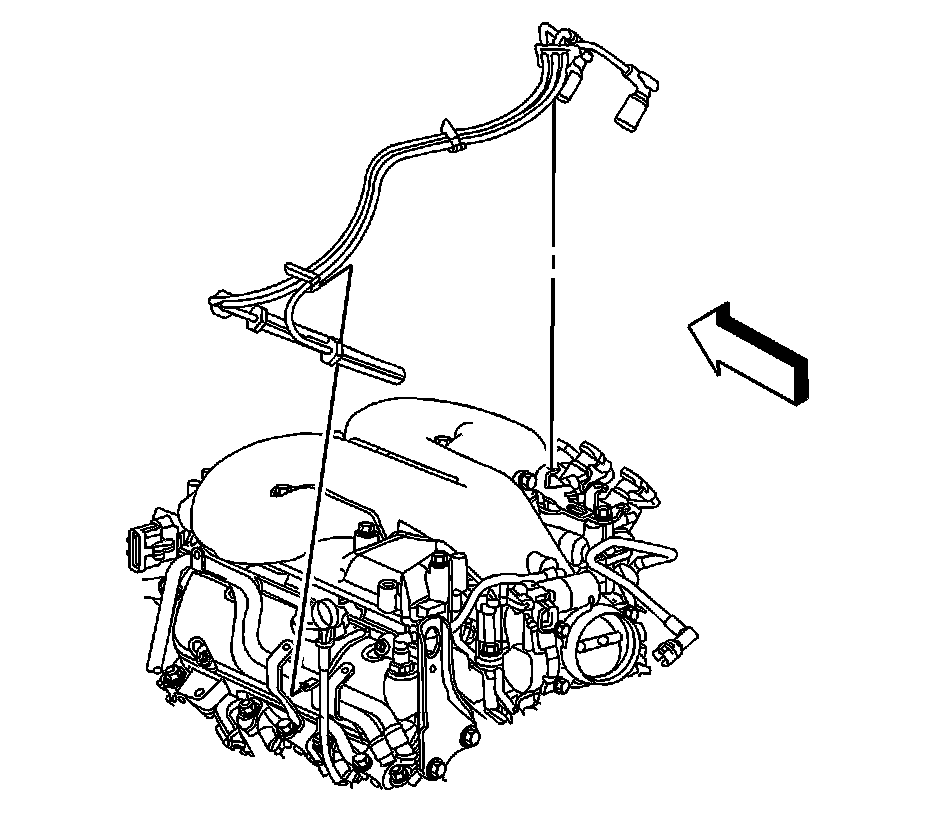
1. Remove the air cleaner outlet duct, if required.
2. Remove the intake manifold cover, if required.
3. Remove the left side spark plug wires from the spark plugs.
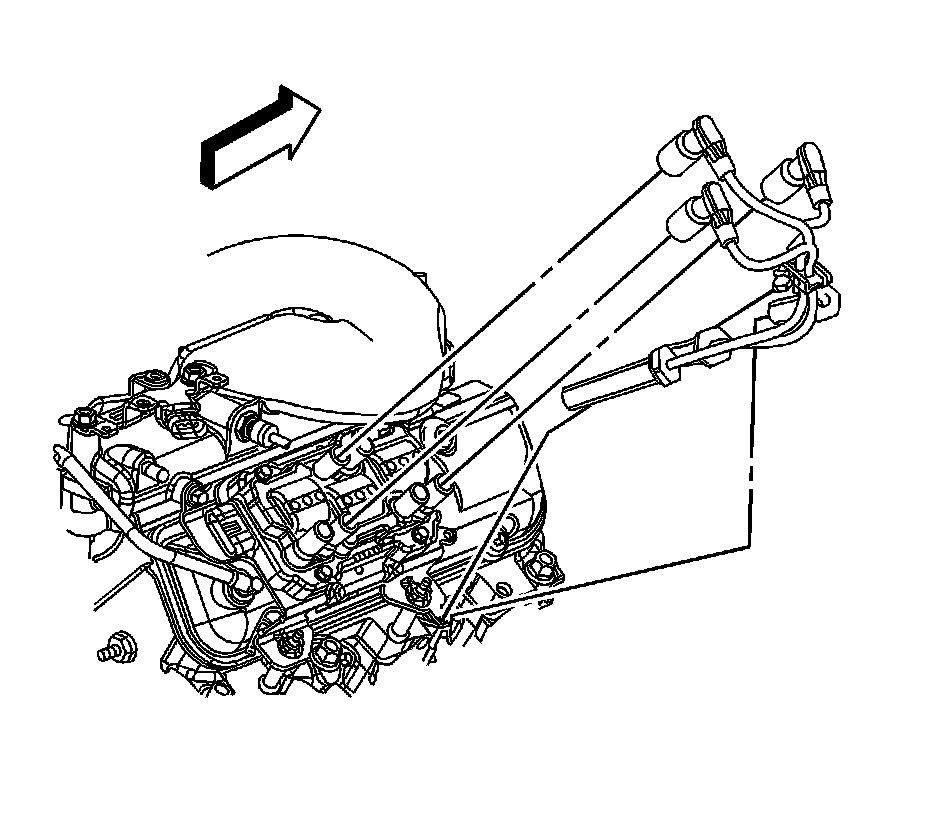
4. Rotate the engine for access, if required. Refer to Rotating the Engine for Service Access.
5. Remove the right side spark plug wires from the spark plugs.
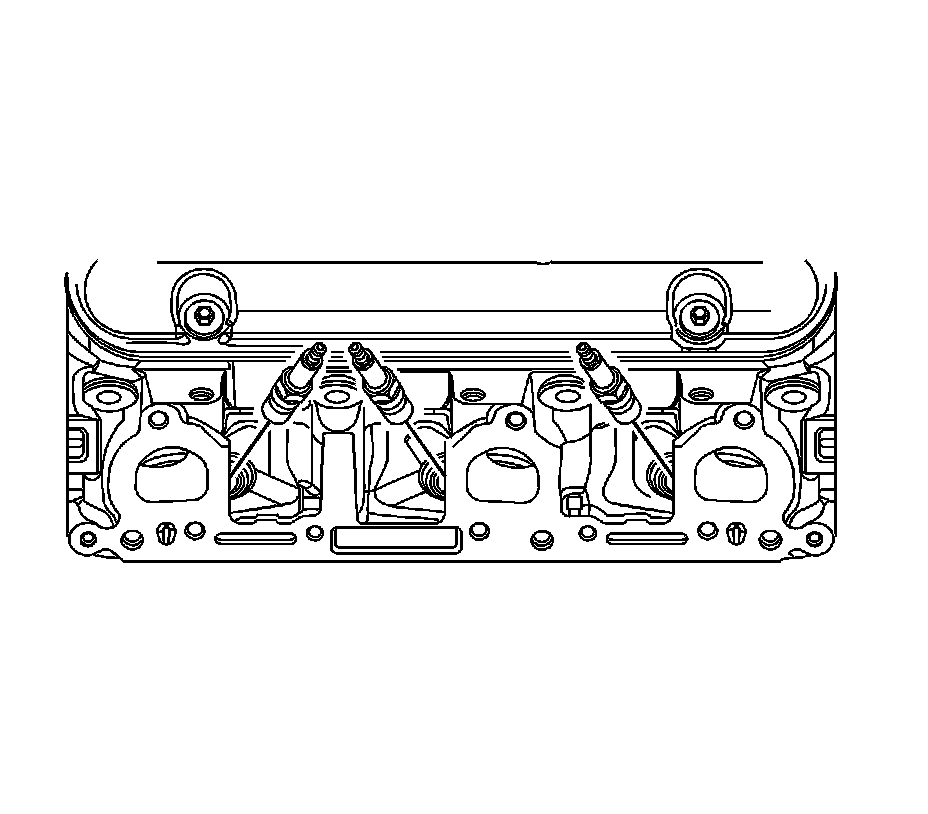
6. Remove the spark plugs.
Installation Procedure
Notice: It is important to check the gap of all new and reconditioned spark plugs before installation. Pre-set gaps may have changed during handling. Use a round wire feeler gauge to be sure of an accurate check, particularly on used plugs. Installing plugs with the wrong gap can cause poor engine performance and may even damage the engine.
1. Gap the NEW spark plugs. Refer to Ignition System Specifications.
Notice: Refer to Fastener Notice.
2. Install the spark plugs.
Tighten the plugs to 15 N.m (11 lb ft).
3. Install the right side spark plug wires to the spark plugs, if required.
4. Rotate the engine to the original position. Refer to Rotating the Engine for Service Access.
5. Install the left side spark plug wires to the spark plugs.
6. Install the intake manifold cover, if required.
7. Install the air cleaner outlet duct, if required.
Factory Service Tools
Use the Manual With the Right Hardware
Pair factory procedures with proven DIY tools so the instructions are easier to execute.
Disclosure: Verified tool recommendations may earn an affiliate commission at no cost to you.
When to See a Mechanic
Stop DIY work and contact a certified mechanic immediately if any of the following apply:
- • You smell fuel, burning insulation, or see smoke.
- • Brakes feel soft, pull hard to one side, or make grinding noises.
- • The engine overheats, stalls repeatedly, or misfires under load.
- • You are missing required tools, torque specs, or safe lifting equipment.
- • You are not confident in the next step or safety outcome.
Rather have a pro handle this?
A certified mobile mechanic comes to your home or office. They bring the tools, you stay comfortable. No tow truck, no waiting room, no surprises.
Comes to youSame-day available12-month warranty
Get a Free QuoteNo obligation. See pricing before you book.